
GET MORE WITH SILVERTHORNE
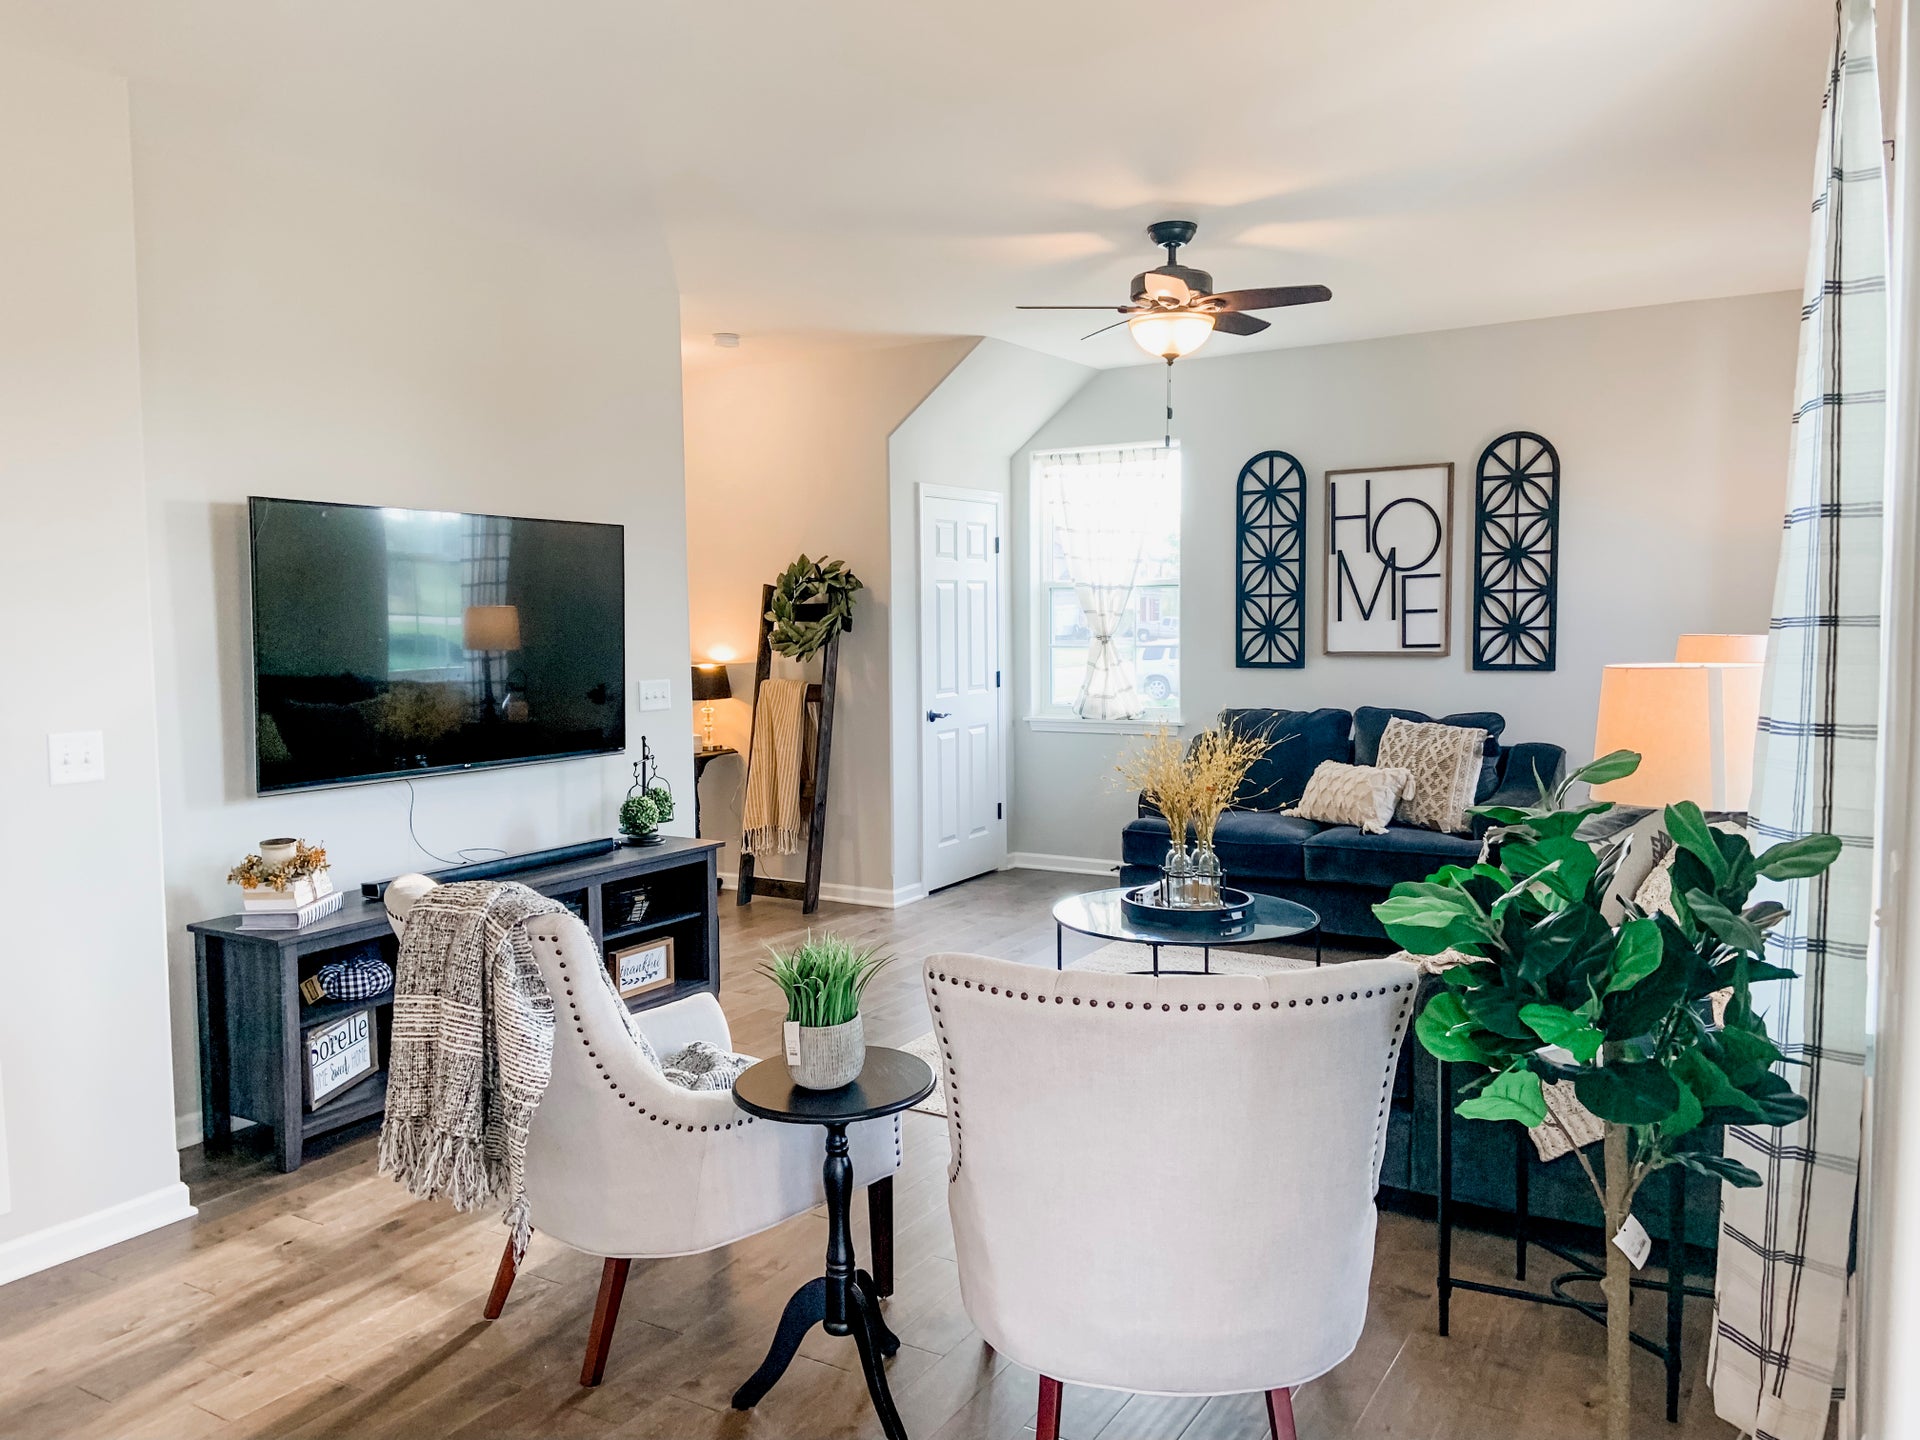
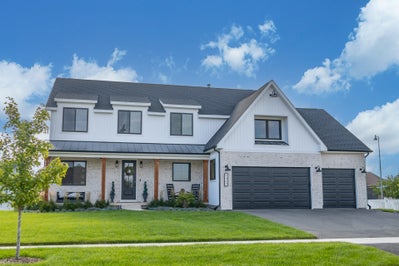
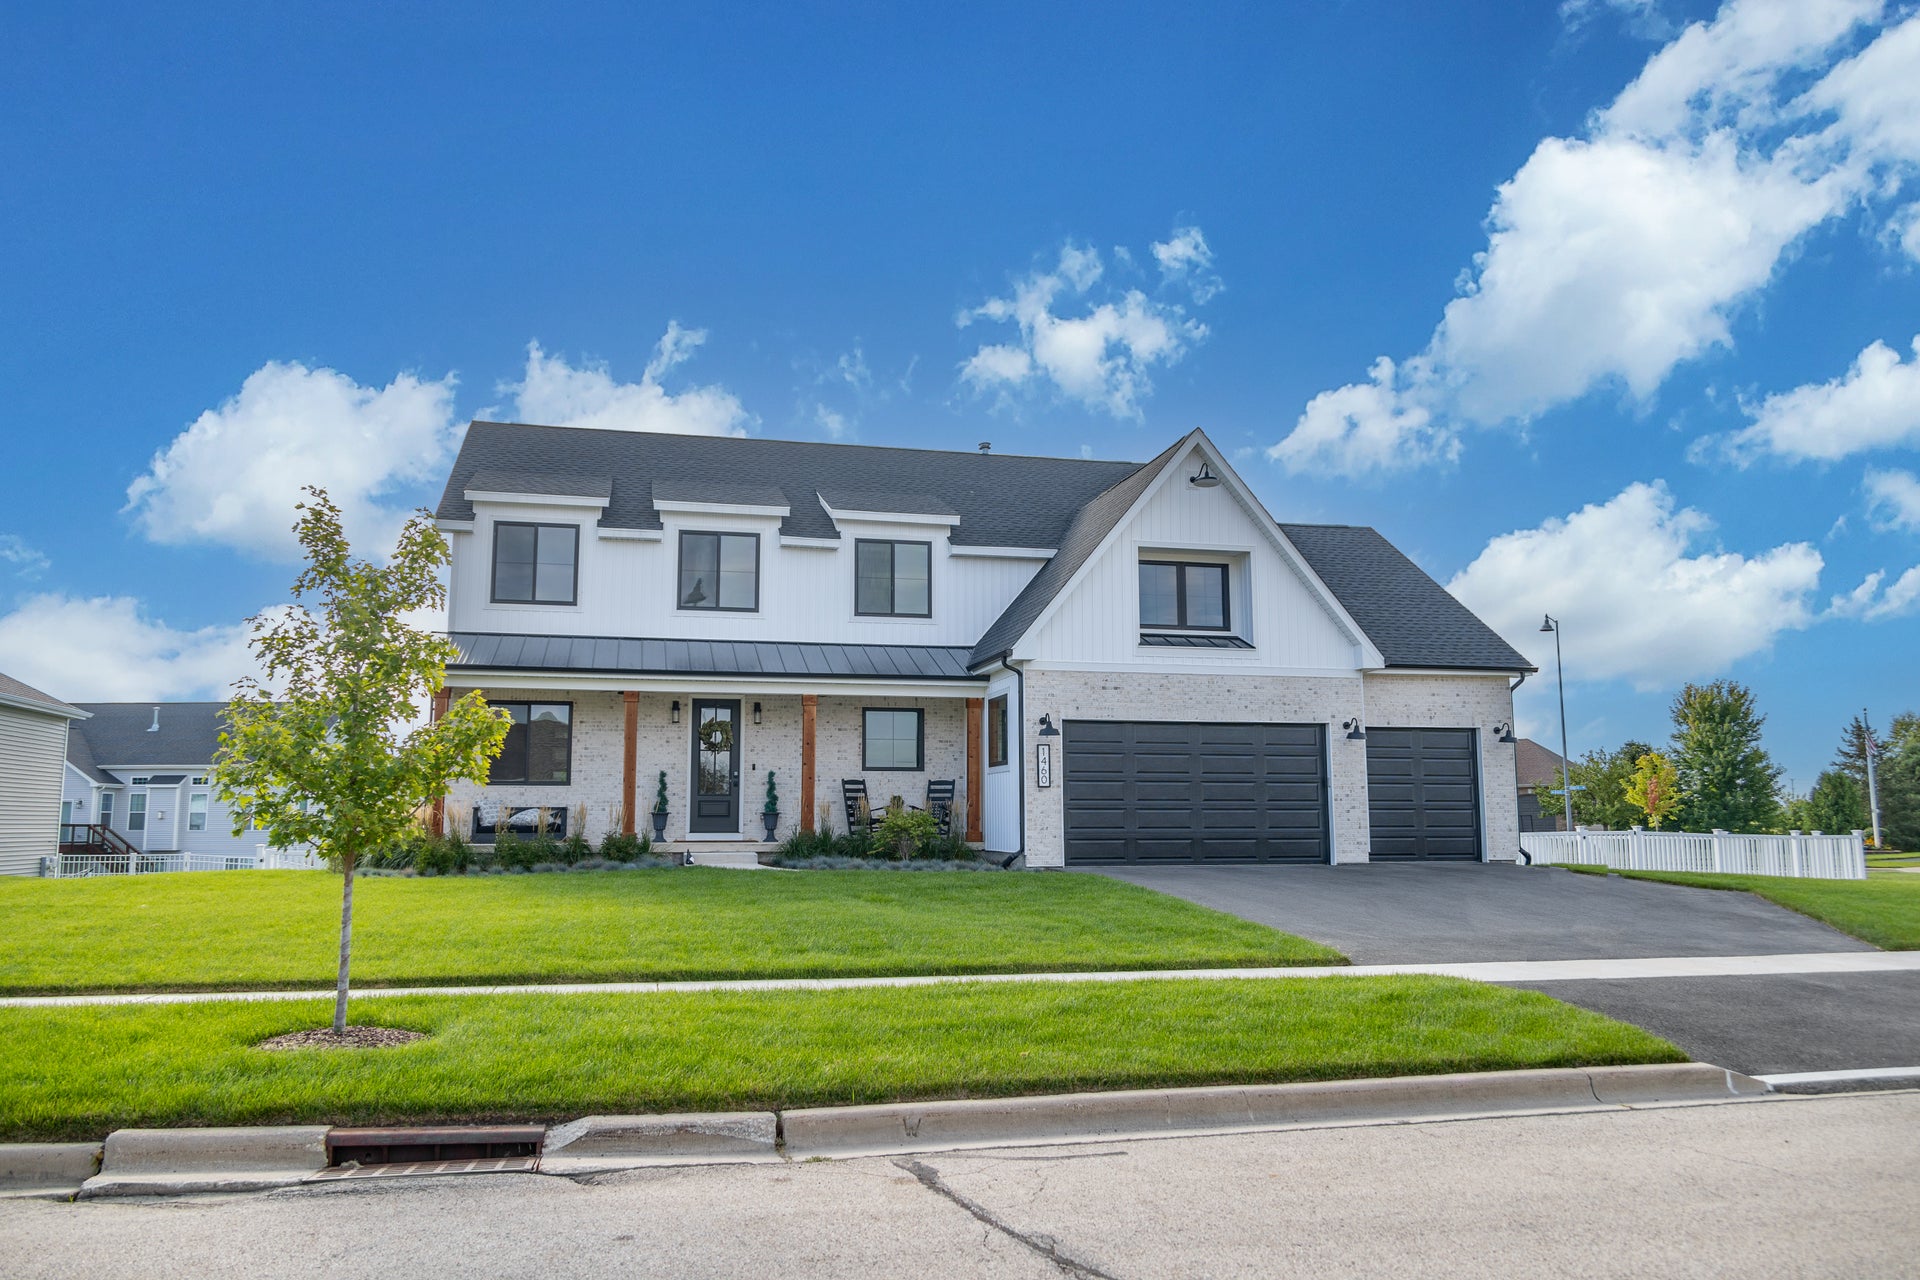
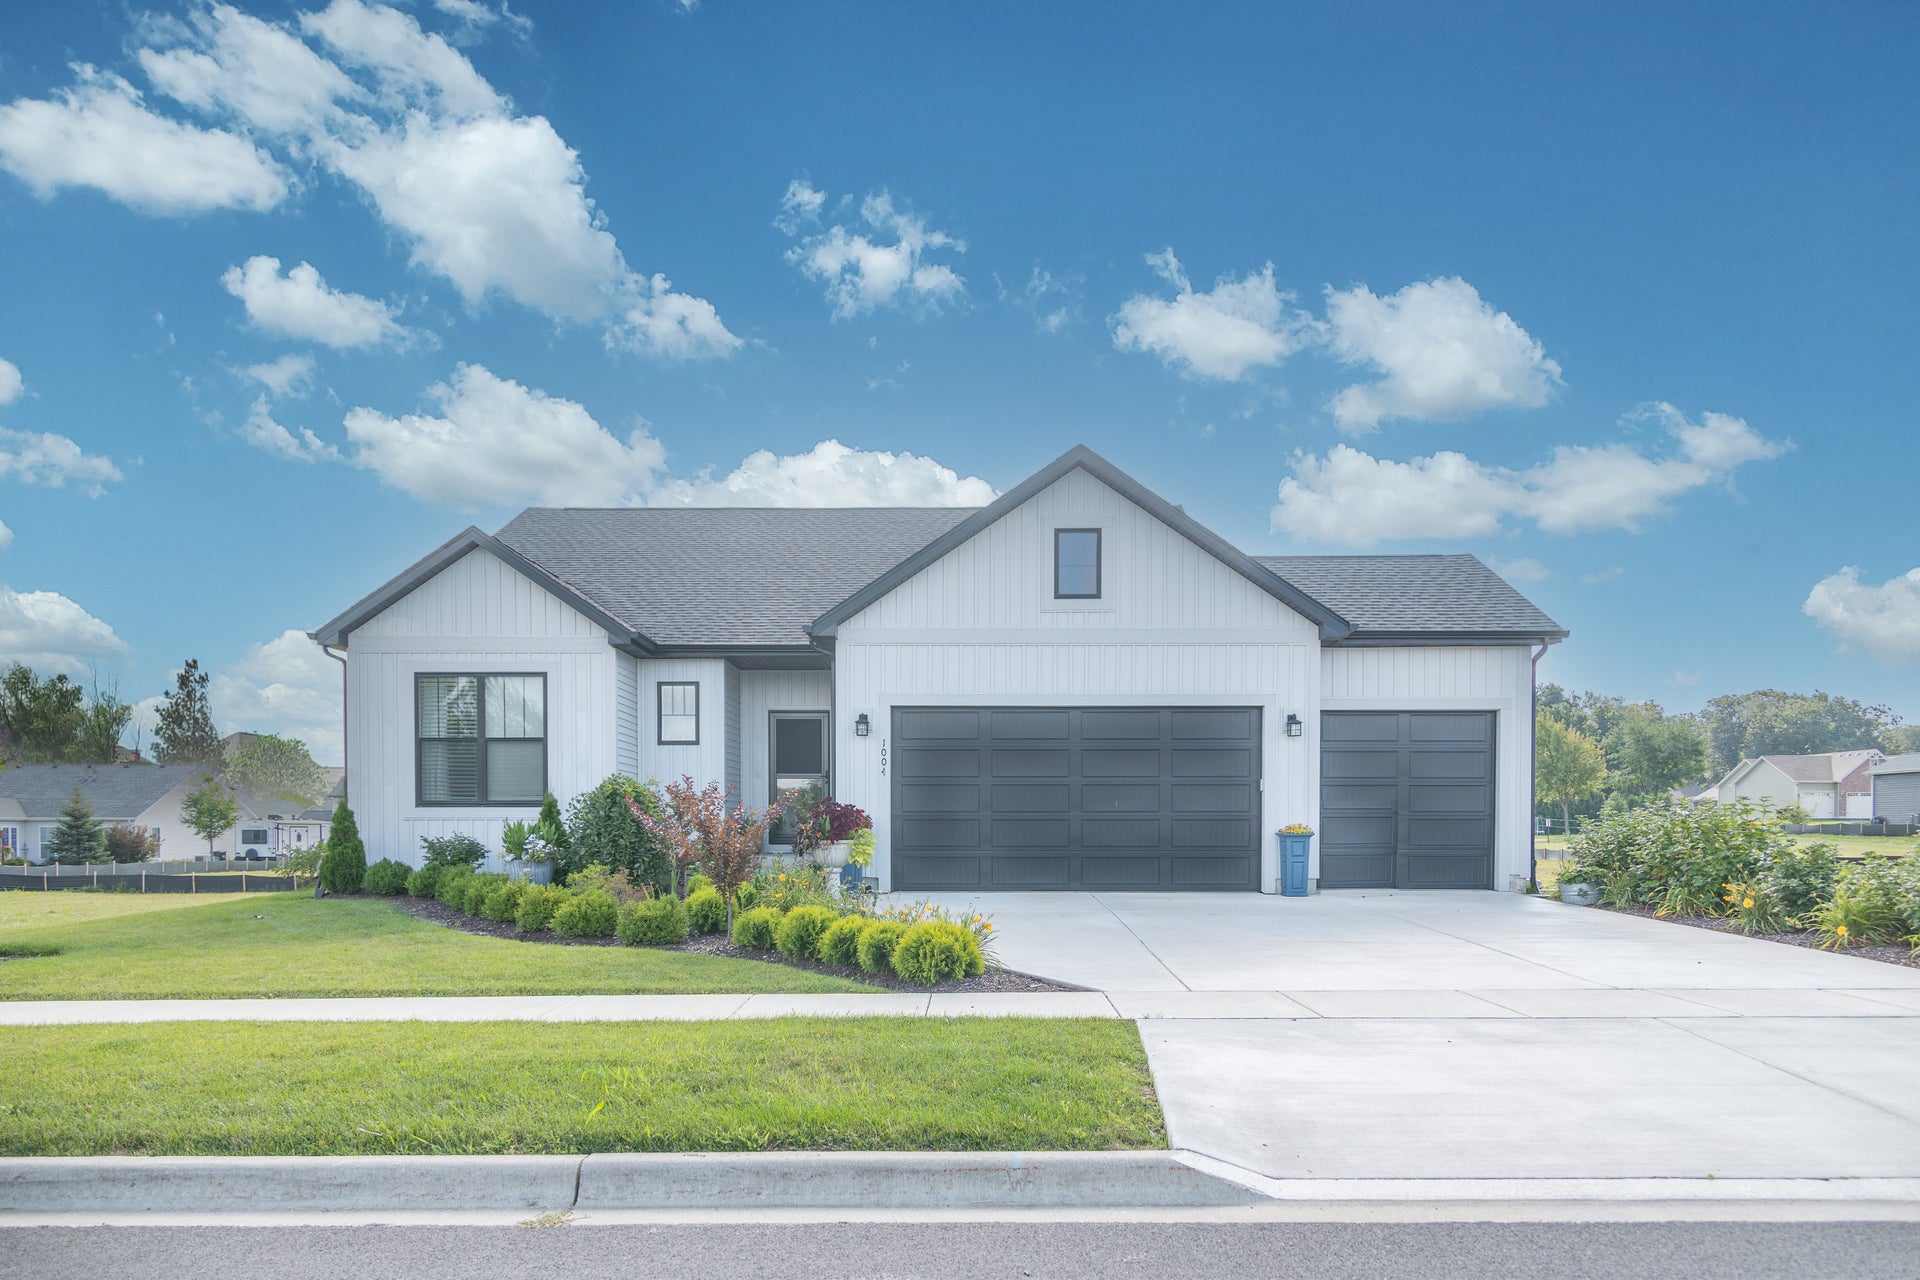
Building with Silverthorne Homes, you are guaranteed to get the quality you deserve and the relationship you can trust from your local hometown builder. Silverthorne builds your home YOUR WAY!
Find Your Home

Looking for a New-Construction Home without the wait? Check out our Available Homes! Enjoy the comfort of a Silverthorne Home with the same quality and integrity as a custom designed home, without the build time!
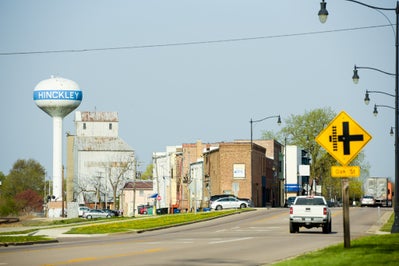
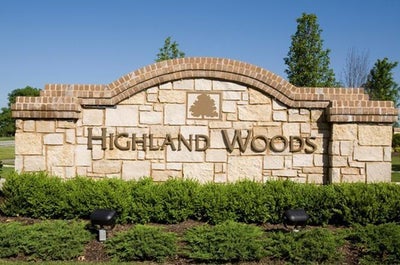
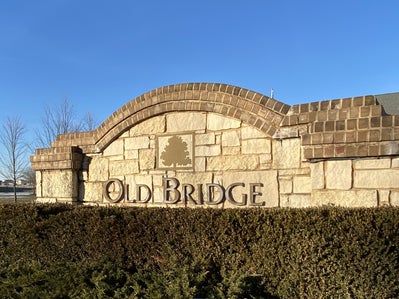
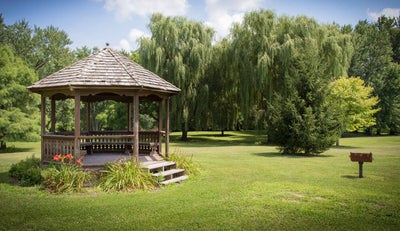
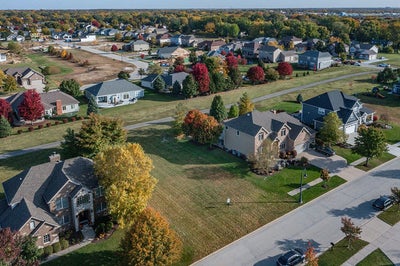
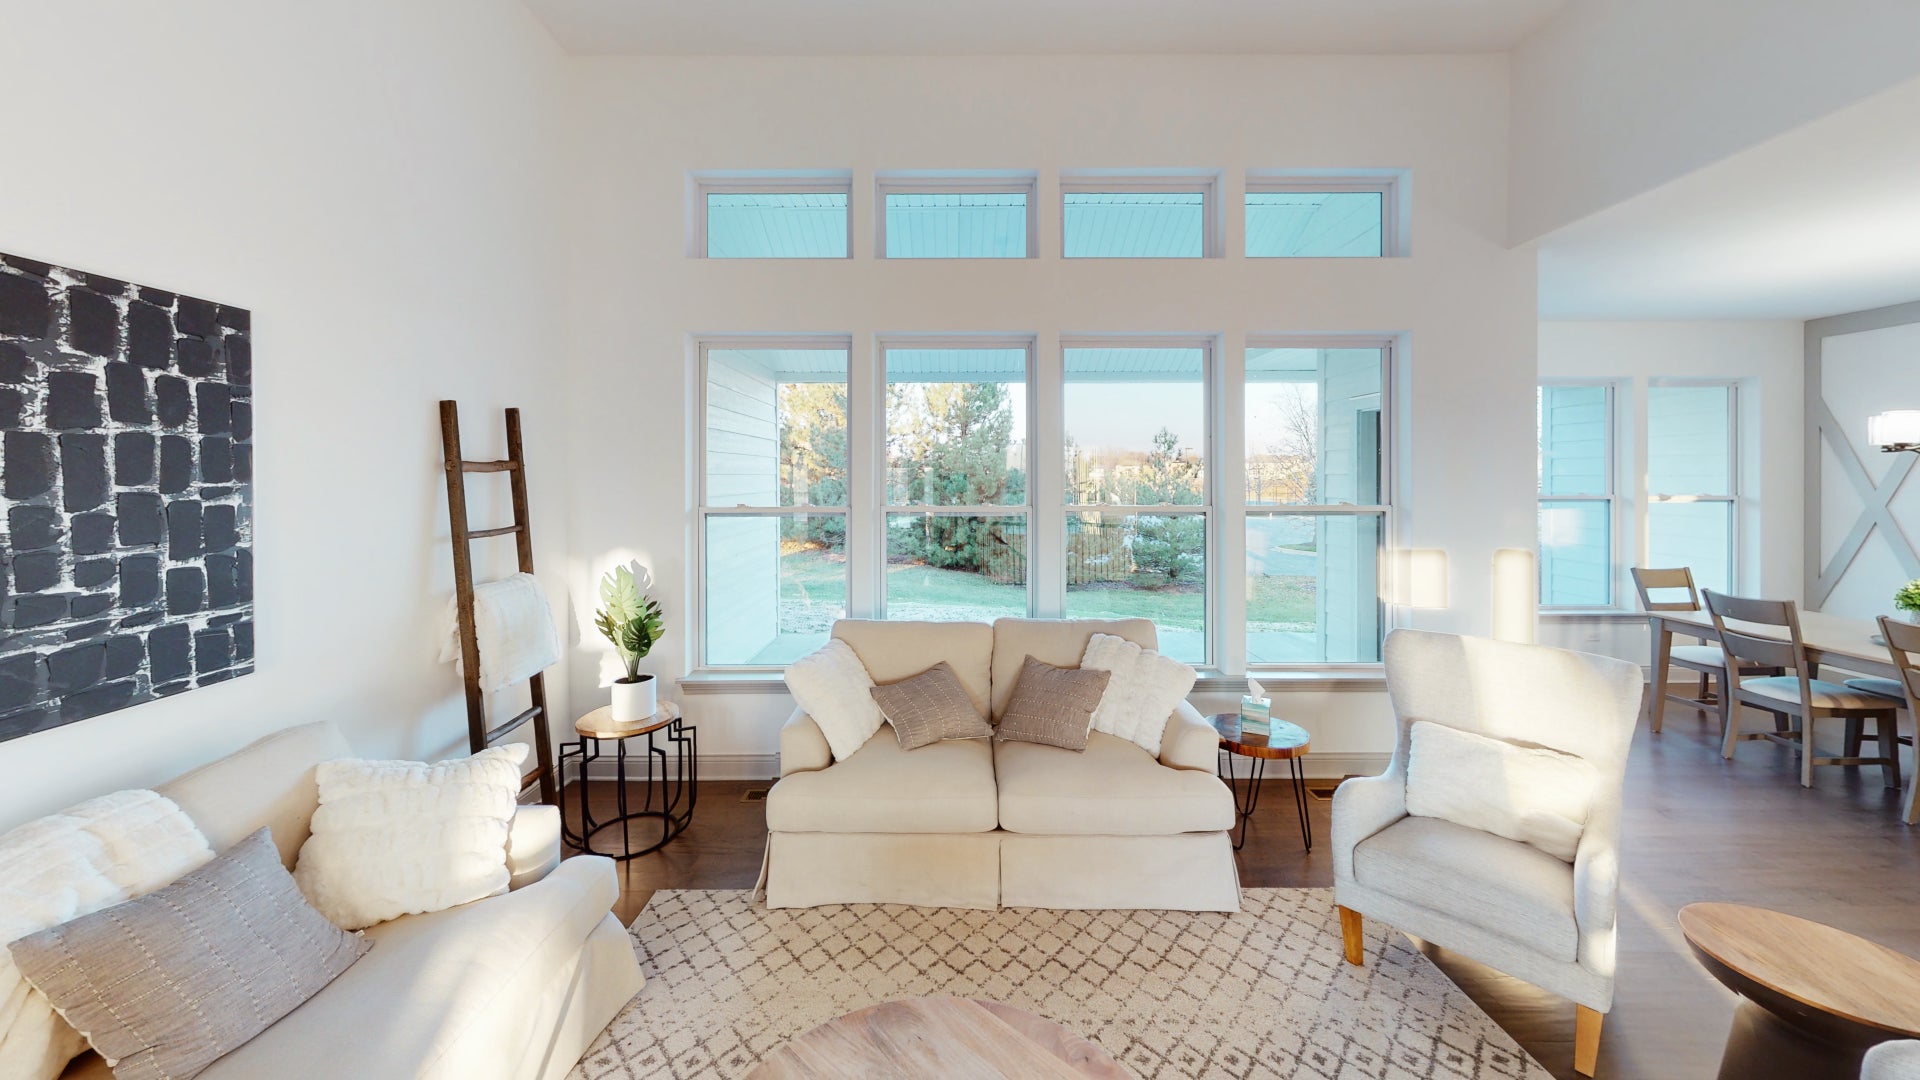
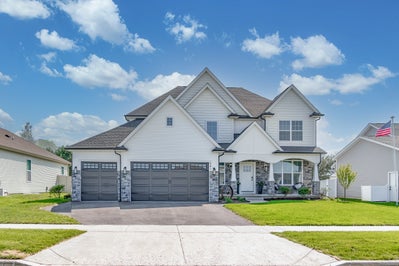
Building a new home is more important than deciding on paint and cabinet colors. At Silverthorne we understand location is one of the most key aspects of a new home. Build in a community you love, on our lot or yours.
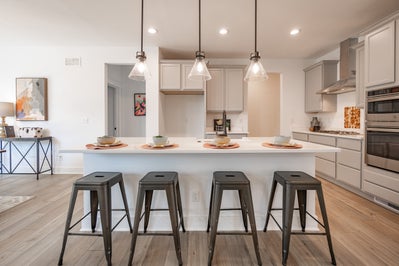
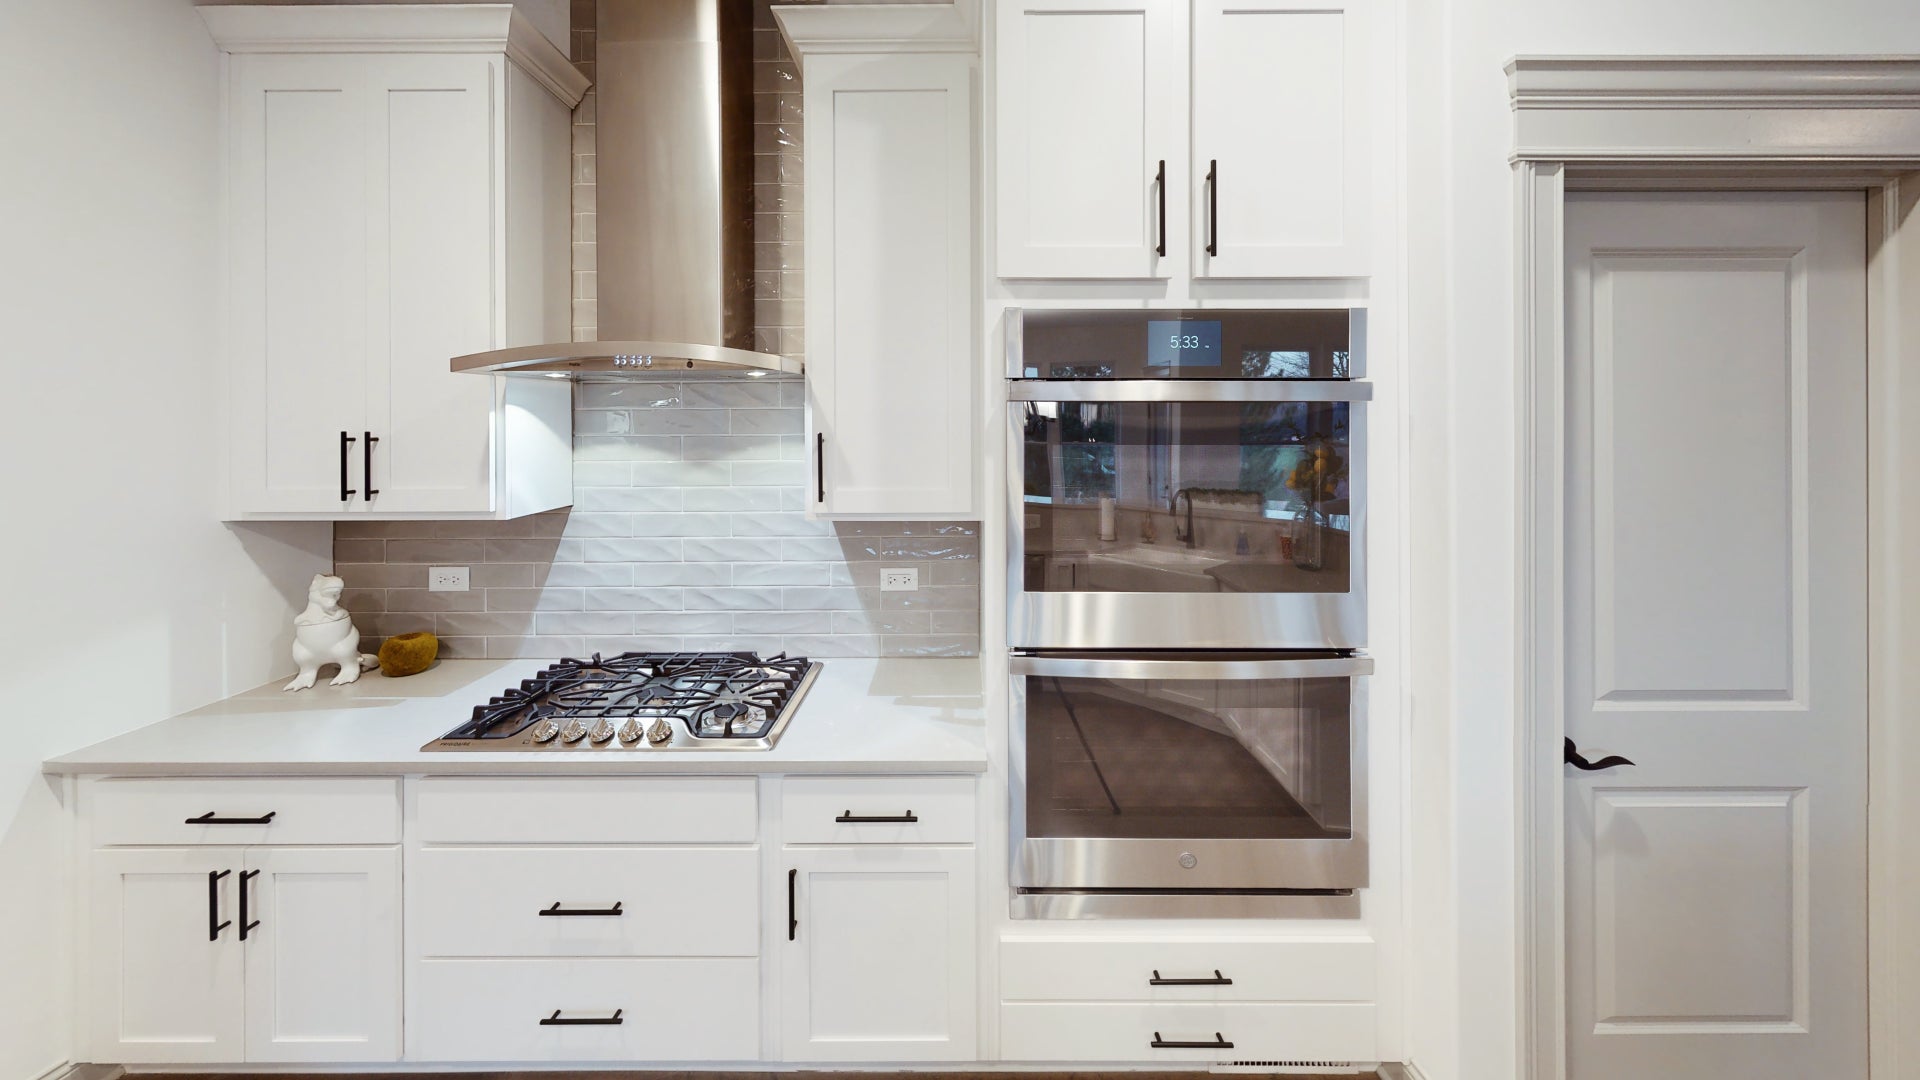
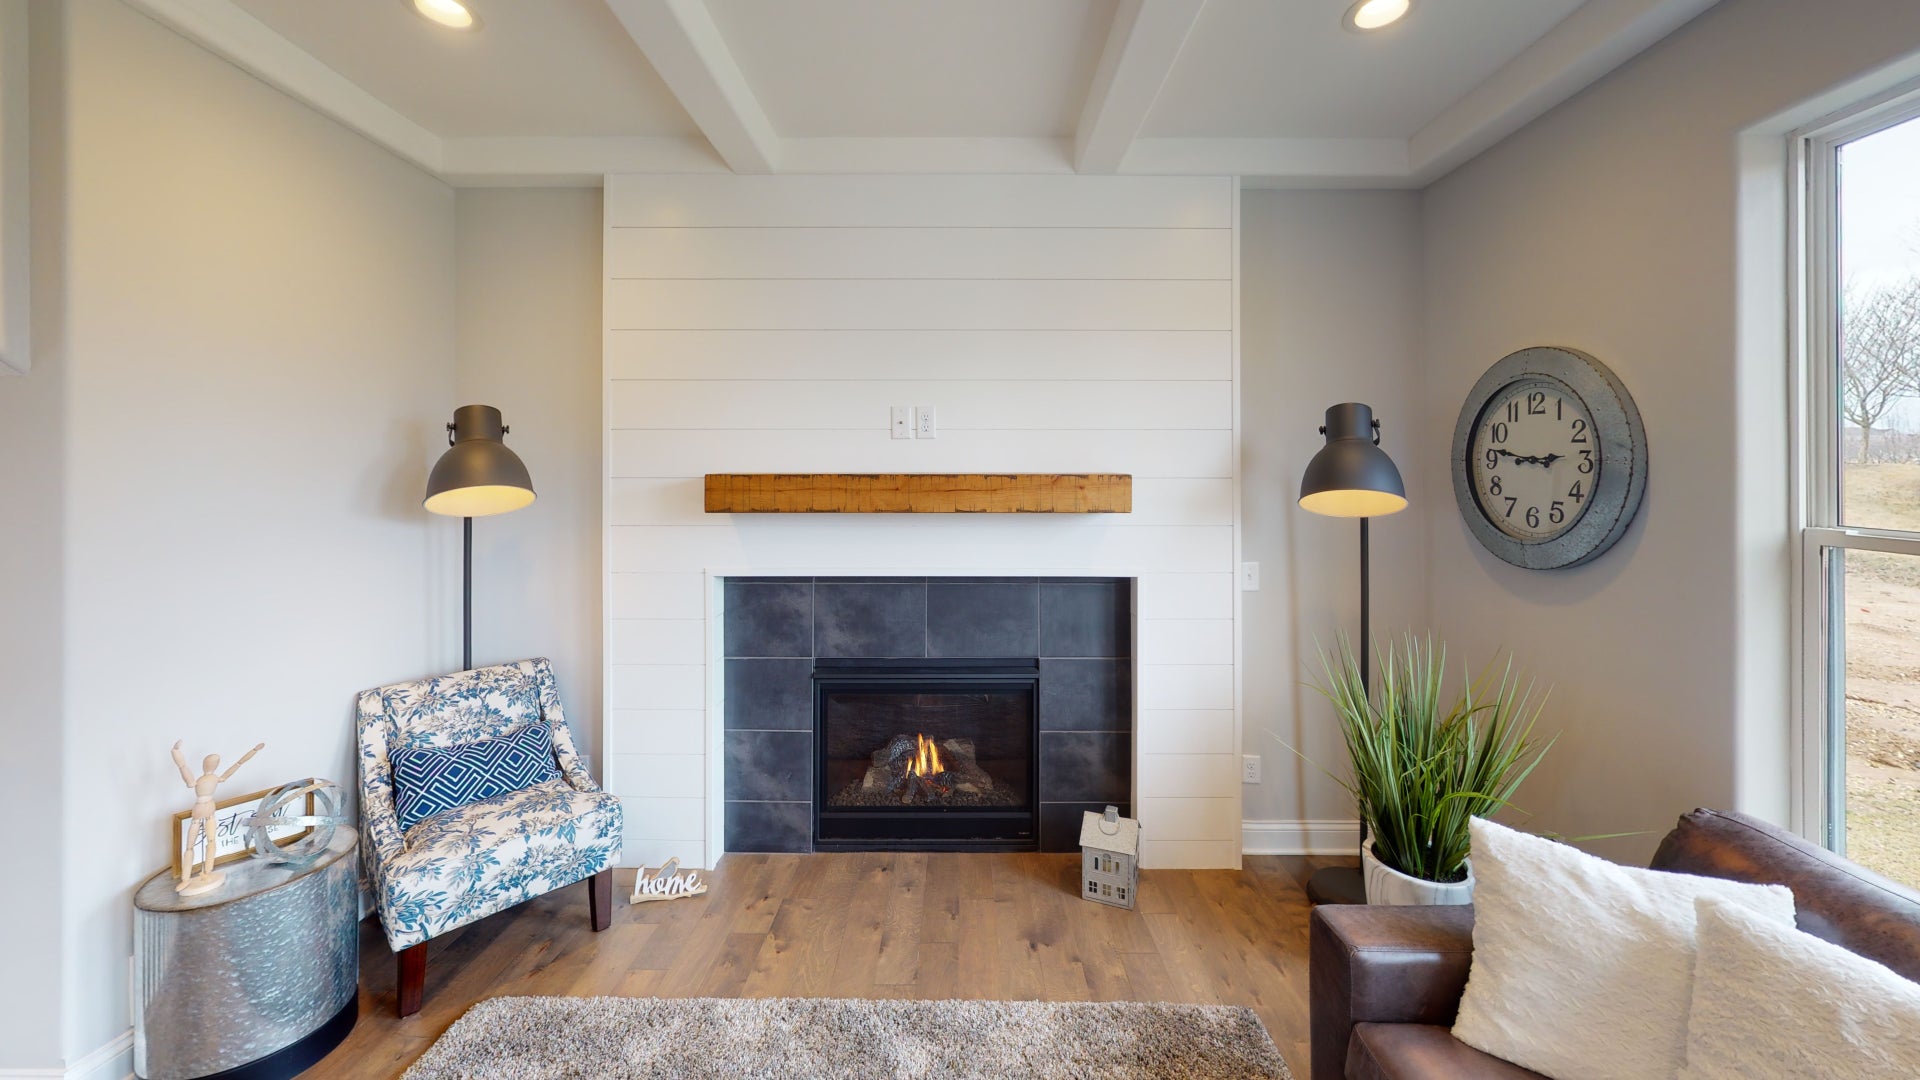
At Silverthorne, we make your home buying dreams a reality, at an affordable price. Other builders give you 10 options, we give you hundreds! Customize your home the way you want it, and get MORE with Silverthorne.
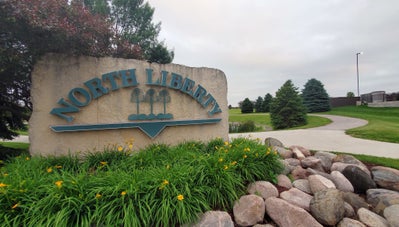
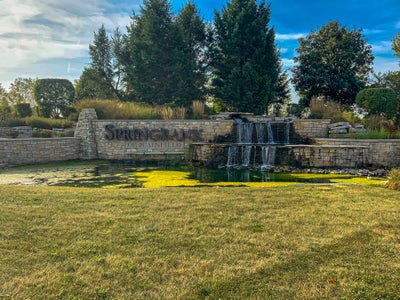
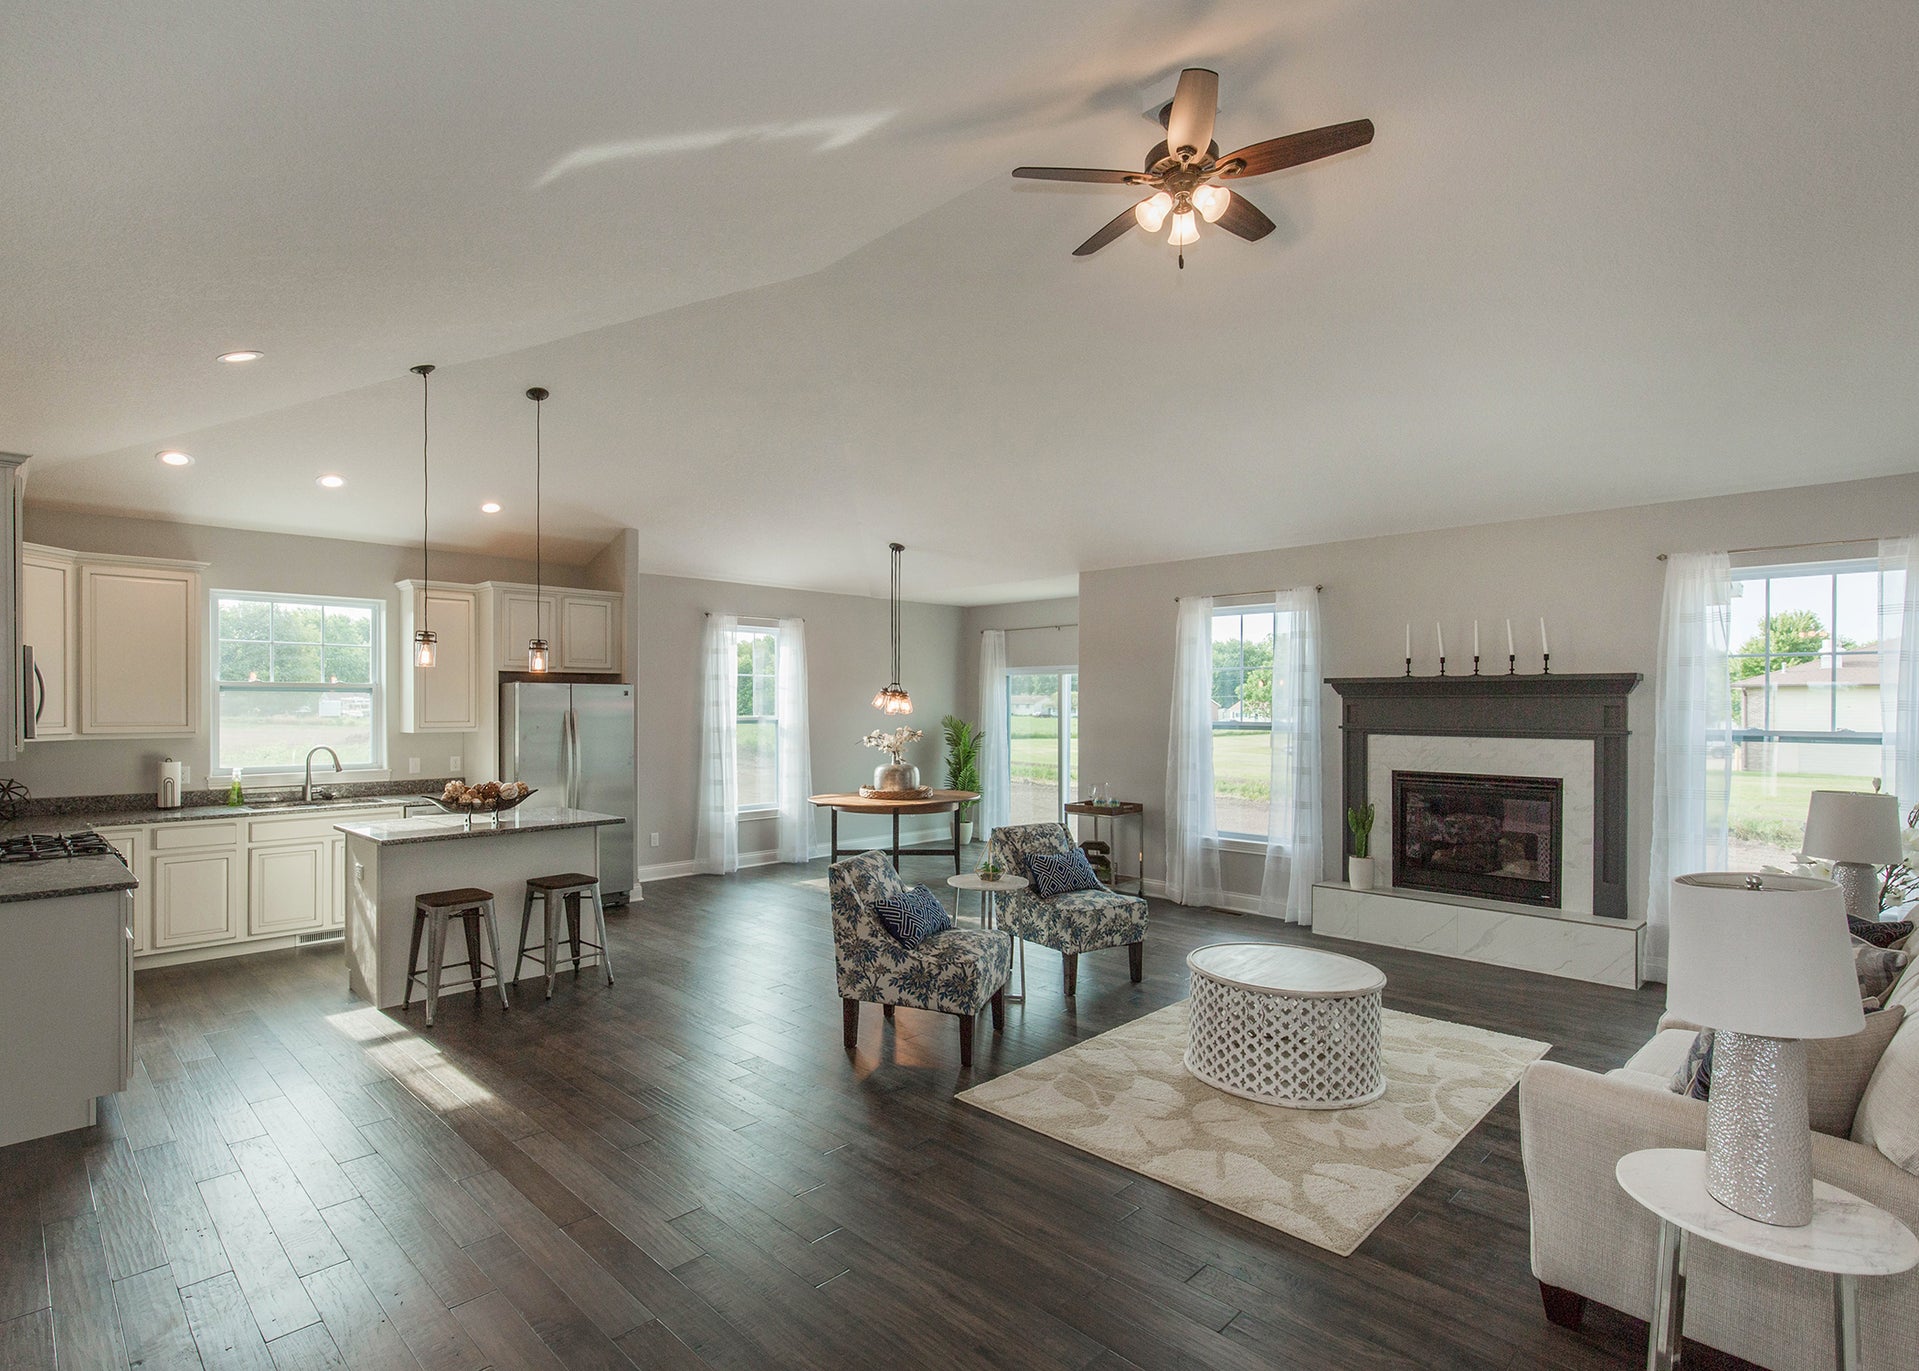
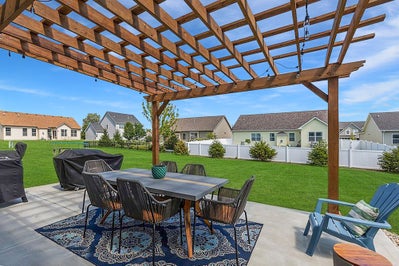
We care about the communities we build in, because we are a part of those communities. From the Chicagoland to Quad Cities area, our team members work, live and play throughout the areas we build. We use local trades, who are held to the highest of standards to build your new home. Building local with Silverthorne, means shopping local in your community as well.